|
|
|

 |
What you will need:
|
 |
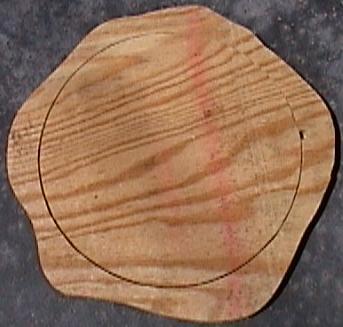
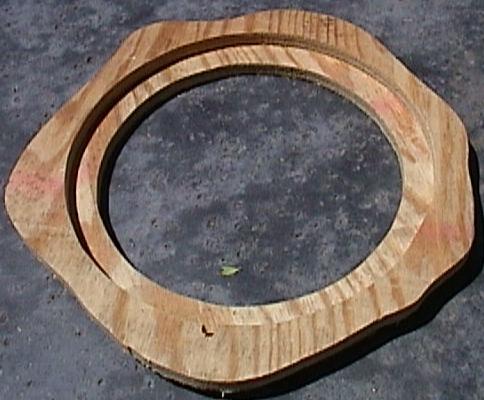
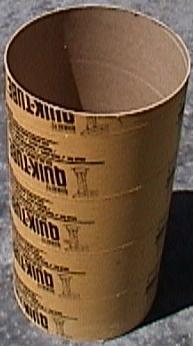
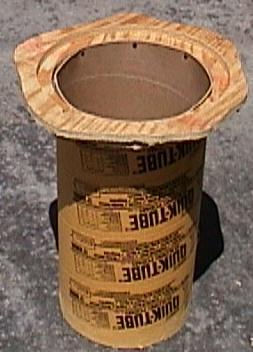
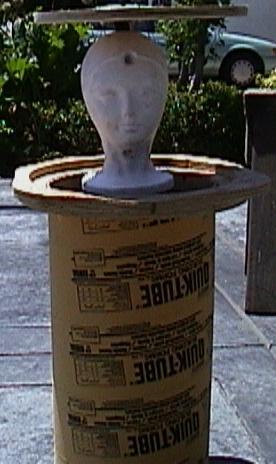
The first thing you need to do is draw and cut out a 16in circle with another 11 3/4in circle inside(if you're not using 12in form tube then these dimensions don't apply). Now draw a 18in, a 16in, and a 14in circle on another piece of. Before cutting these out freehand draw an outline of a tree stump around the 18in circle. This will be the template that you staple the chicken wire too. Now drill a small hole on the outside of the 14in circle large enough to fit your jigsaw through and cutout the inner circle and stump outline. Once you've finished cutting out your circles and patterns, take the first 16in circle and screw it onto the stump pattern. If you drew the 16in circle inside the 18 you have a guideline to keep everything centered. Now take your form tube and cut it to 22 inches or your desired height. Take the stump pattern and screw it onto your tube from the inside.
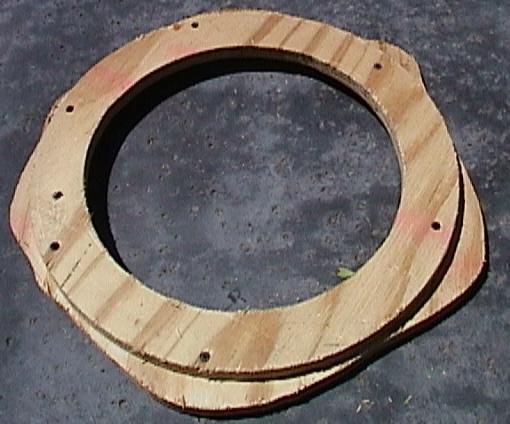
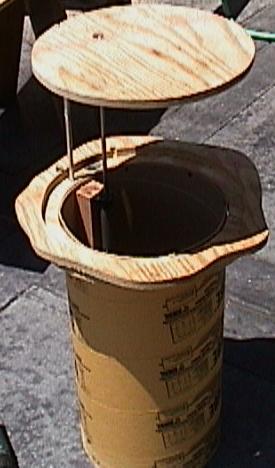
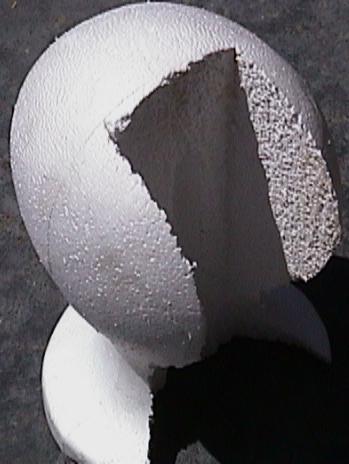
You're now ready to mount your pneumatic cylinder to the lid and the inside of the form tube. I mounted this one to a 2x3 and cut out the back of the foam head to allow for the cylinder and flow control valves to pass through the head without catching on anything. You now need to make a mark for the stroke to attach to the lid. So mount the cylinder to the tube so that your cylinder's stroke is barely above the inner platform(where the lid rests)and apply a thick drop of paint to the strokes tip. Now center your lid(14in circle) into the pattern and gently drop it into place and lift it back out. You should have a mark where the stroke hit your lid. Now drill a hole the same size as your stroke where that mark is. Now on the top of the lid take a 1in wood drill bit and go down approx. 1/2 an inch or enough to securely mount your stroke nut. You want the hole deep enough that your stroke nut doesn't rise above the hole. Now unscrew your cylinder and raise it up until your stroke's threads come up threw the hole and your able to cinch it down. You will probably have to mount a nut at the bottom of the threads, then you're wood sits on top of that and the nylon stroke nut cinches the wood between the 2 nuts. If you have a cylinder that has a hexagon shaped stroke(non-rotating)then you can skip this next step. If you already have one that is free spinning like the one I used then you will need to build a guide so your lid rises and sets where it should. To do so, lower your lid down so it is flush with your stump pattern. Now drill a 1/4 hole through the lid and through the platform it sits on(make sure its in the back so the head will hide it). Now take the 1/4in aluminum rod cut it at 14 inches(longer if you are using a longer stroke). Now slide the rod down the 1/4 hole until it is just below the lids surface. Now raise the lid and drill a hole through the side of the lid and through the rod. Stop once the bit goes through the rod, to ensure that your nail will stay set. Now take your 1.5in nail and drive it into the hole and through the rod. Your lid should now ride on that rail and sit completely flush. Once your lid raises and sits as it should, connect your cylinder to your compressor and try it out. It should ride freely and have no strain. If it does go back and solve the problem. Its better to have a problem now before we go any further.
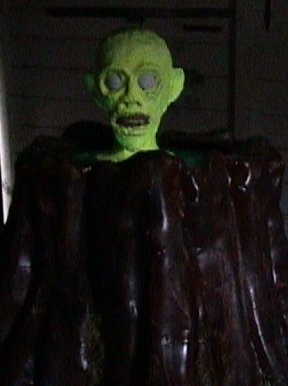
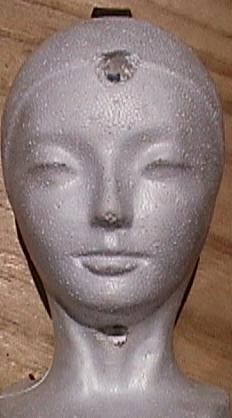
Now that your stump is running perfectly take your 14in bar and put a 90 degree bend at 4in. Now drill 2 holes on the 10in bar so that your head should have 1 hole in its forehead and one in its throat. Now drill 1 final hole that will allow you to attach it to the lid with a 1/2in wood screw(refer to the picture below). Now take your bar and center it in the back of the foam head (if you haven't already cut out the back of the head then do so now). Now run a drill bit through the holes in the bar and out the front of the foam face. Now take your 4in bolt and run it through the face and into the bar, secure it with a nut. Do the same for the 1.5in bolt. Now mount the head to the lid and run another pneumatic test to ensure that your head is not rubbing on anything. Now take your blacklight and mount it on the inside of the tube. I recommend using a 12in blacklight tube, but you can get away with using a 4in one. Just don't use a regular blacklight bulb, first off they don't give you the right light spectrum to make your ghost head glow and second they get way too hot. You've spent alot of time on this prop, do you want to see it go up in flames?
 |
 |
 |
 |
 |
|