|
|
|

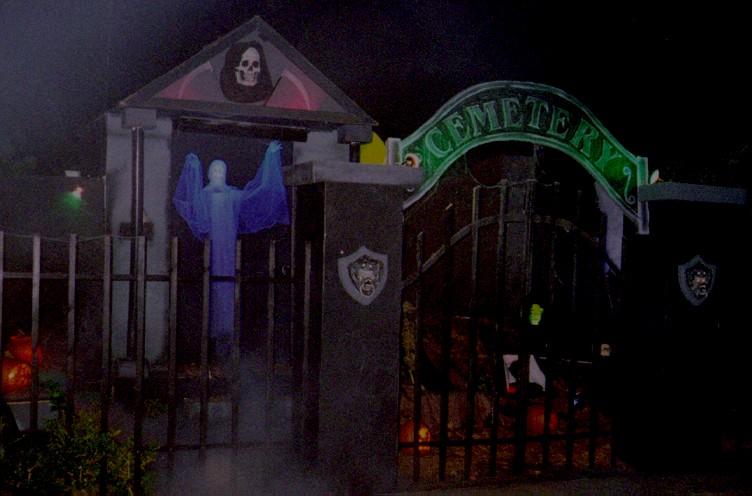
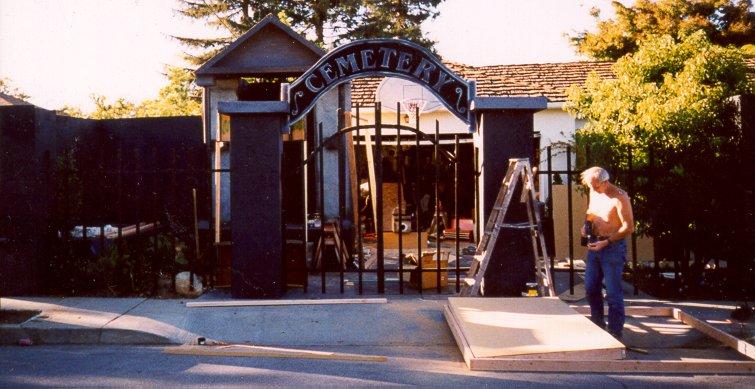
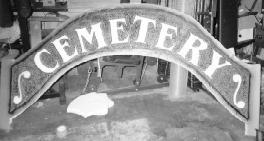
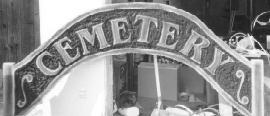
The Cemetery is definitely my largest prop. Spanning 32 feet in width and approx. 16 feet in depth. I was always sick of building a structure that wasn't eye appealing, so in 1998 I decided to make the entire display a prop. Well I don't really know how to explain the whole thing due to its complexity, but I'll do my best. The basic frame is constructed out of 4 X 8 sheets of masonite that are mounted to a framed in structure, much like a house. The mausoleums are free standing structures that are approx. 8 X 8 rooms with a varying ceiling height(last years peaked at 14 feet). It's actually quite a big project for a nights display. We start work approx. 1 week before Halloween and are usually finishing up as the first trick-or-treaters arrive. The actual cemetery floor and grave mounds are built on a chicken wire and wood frame, then covered with black plastic, then dark brown burlap cloth, compost and moss. I recommend using plastic under the burlap for a couple of reasons. First, the burlap cloth isn't very tightly weaved, so any light behind it will show through and lighten the color of the burlap. Second, the burlap is pourus. The fog that we pump over the open graves seeps through the burlap and doesn't complete its journey to the cemetery floor. The plastic also stops any wind from disturbing the fogs travel. Last but not least we have the fence. The fence was constructed first building pillars out of 2x2's and covered in masonite, which were then pained dark gray. Between the pillars, I constructed a false fence using 1x2s that were first painted black then mounted to a 2x4 on the top and one at the bottom. I recommend using 2 screws(1 on the top 1 on the bottom) so the structure will fold down for easy storage. Well that's about it, enjoy.
 |
What you will need:
|  |
 |
|